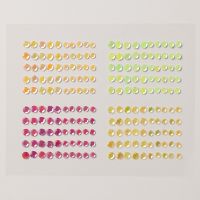
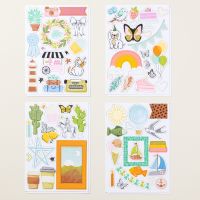
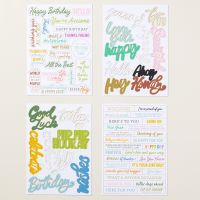
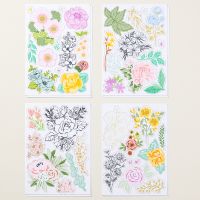
Welcome to our monthly inspiration! This month we are exploring the Quick and Easy Options, using the ephemera packets that Stampin'Up offers in the annual catalog. What fun!
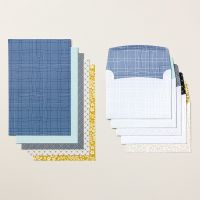
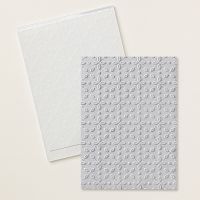
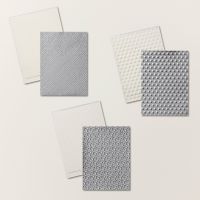
This month's card, I actually used 3 products from page 19 of the Annual Catalog: Saying Something (163761, Somethng for Everything (163763) and the Calming Creek Cards & Envelopes (163753).
In the Cards & Envelopes, you only get 5 card bases and 5 envelopes. The envelopes have a design both on the outside and inside. The card bases have the same design on both front and back. When I saw this, I decided to make this go further by cutting the envelopes up, so I could cut paper to make card fronts. Likewise on the card bases, I cut them in half, and then recut to fit on a card front. So from 1 card base, I got two cards made. By slicing up the card bases and envelopes, you can get a lot of cards out of this one pack.
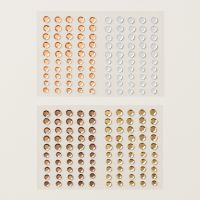
I did have to bring in addtional product: Basic White Card stock ( 40 sheets for $13 - 159276) and Stampin'Dimensionals and a pack of Adhesive Backed Shiny Sequins. It was really fun mixing and matching and designing this card.
Here is my card. I did no stamping on it.
Card Front
Inside of Card
Since I had some card base left over and some sliced up envelopes, I made another card:
The soft leaf layer is from the envelope!
The strip on the inside of this card is left over from cutting the card base apart. The subtle layer on the card is from the envelope. Very easy and such fun to create!
I hope you enjoyed the cards that I shared today. Make sure to visit our other ducklings with their creative ideas for the ephemera packs!
Welcome to the July 2024 edition of the Stray Ducklings Blog Waddle! This month we are featuring our favorite kits that Stampin'Up! sells. These kits are fabulous and offer a quick and easy way to make beautiful cards. You can also change up the cards and make them your own creation.
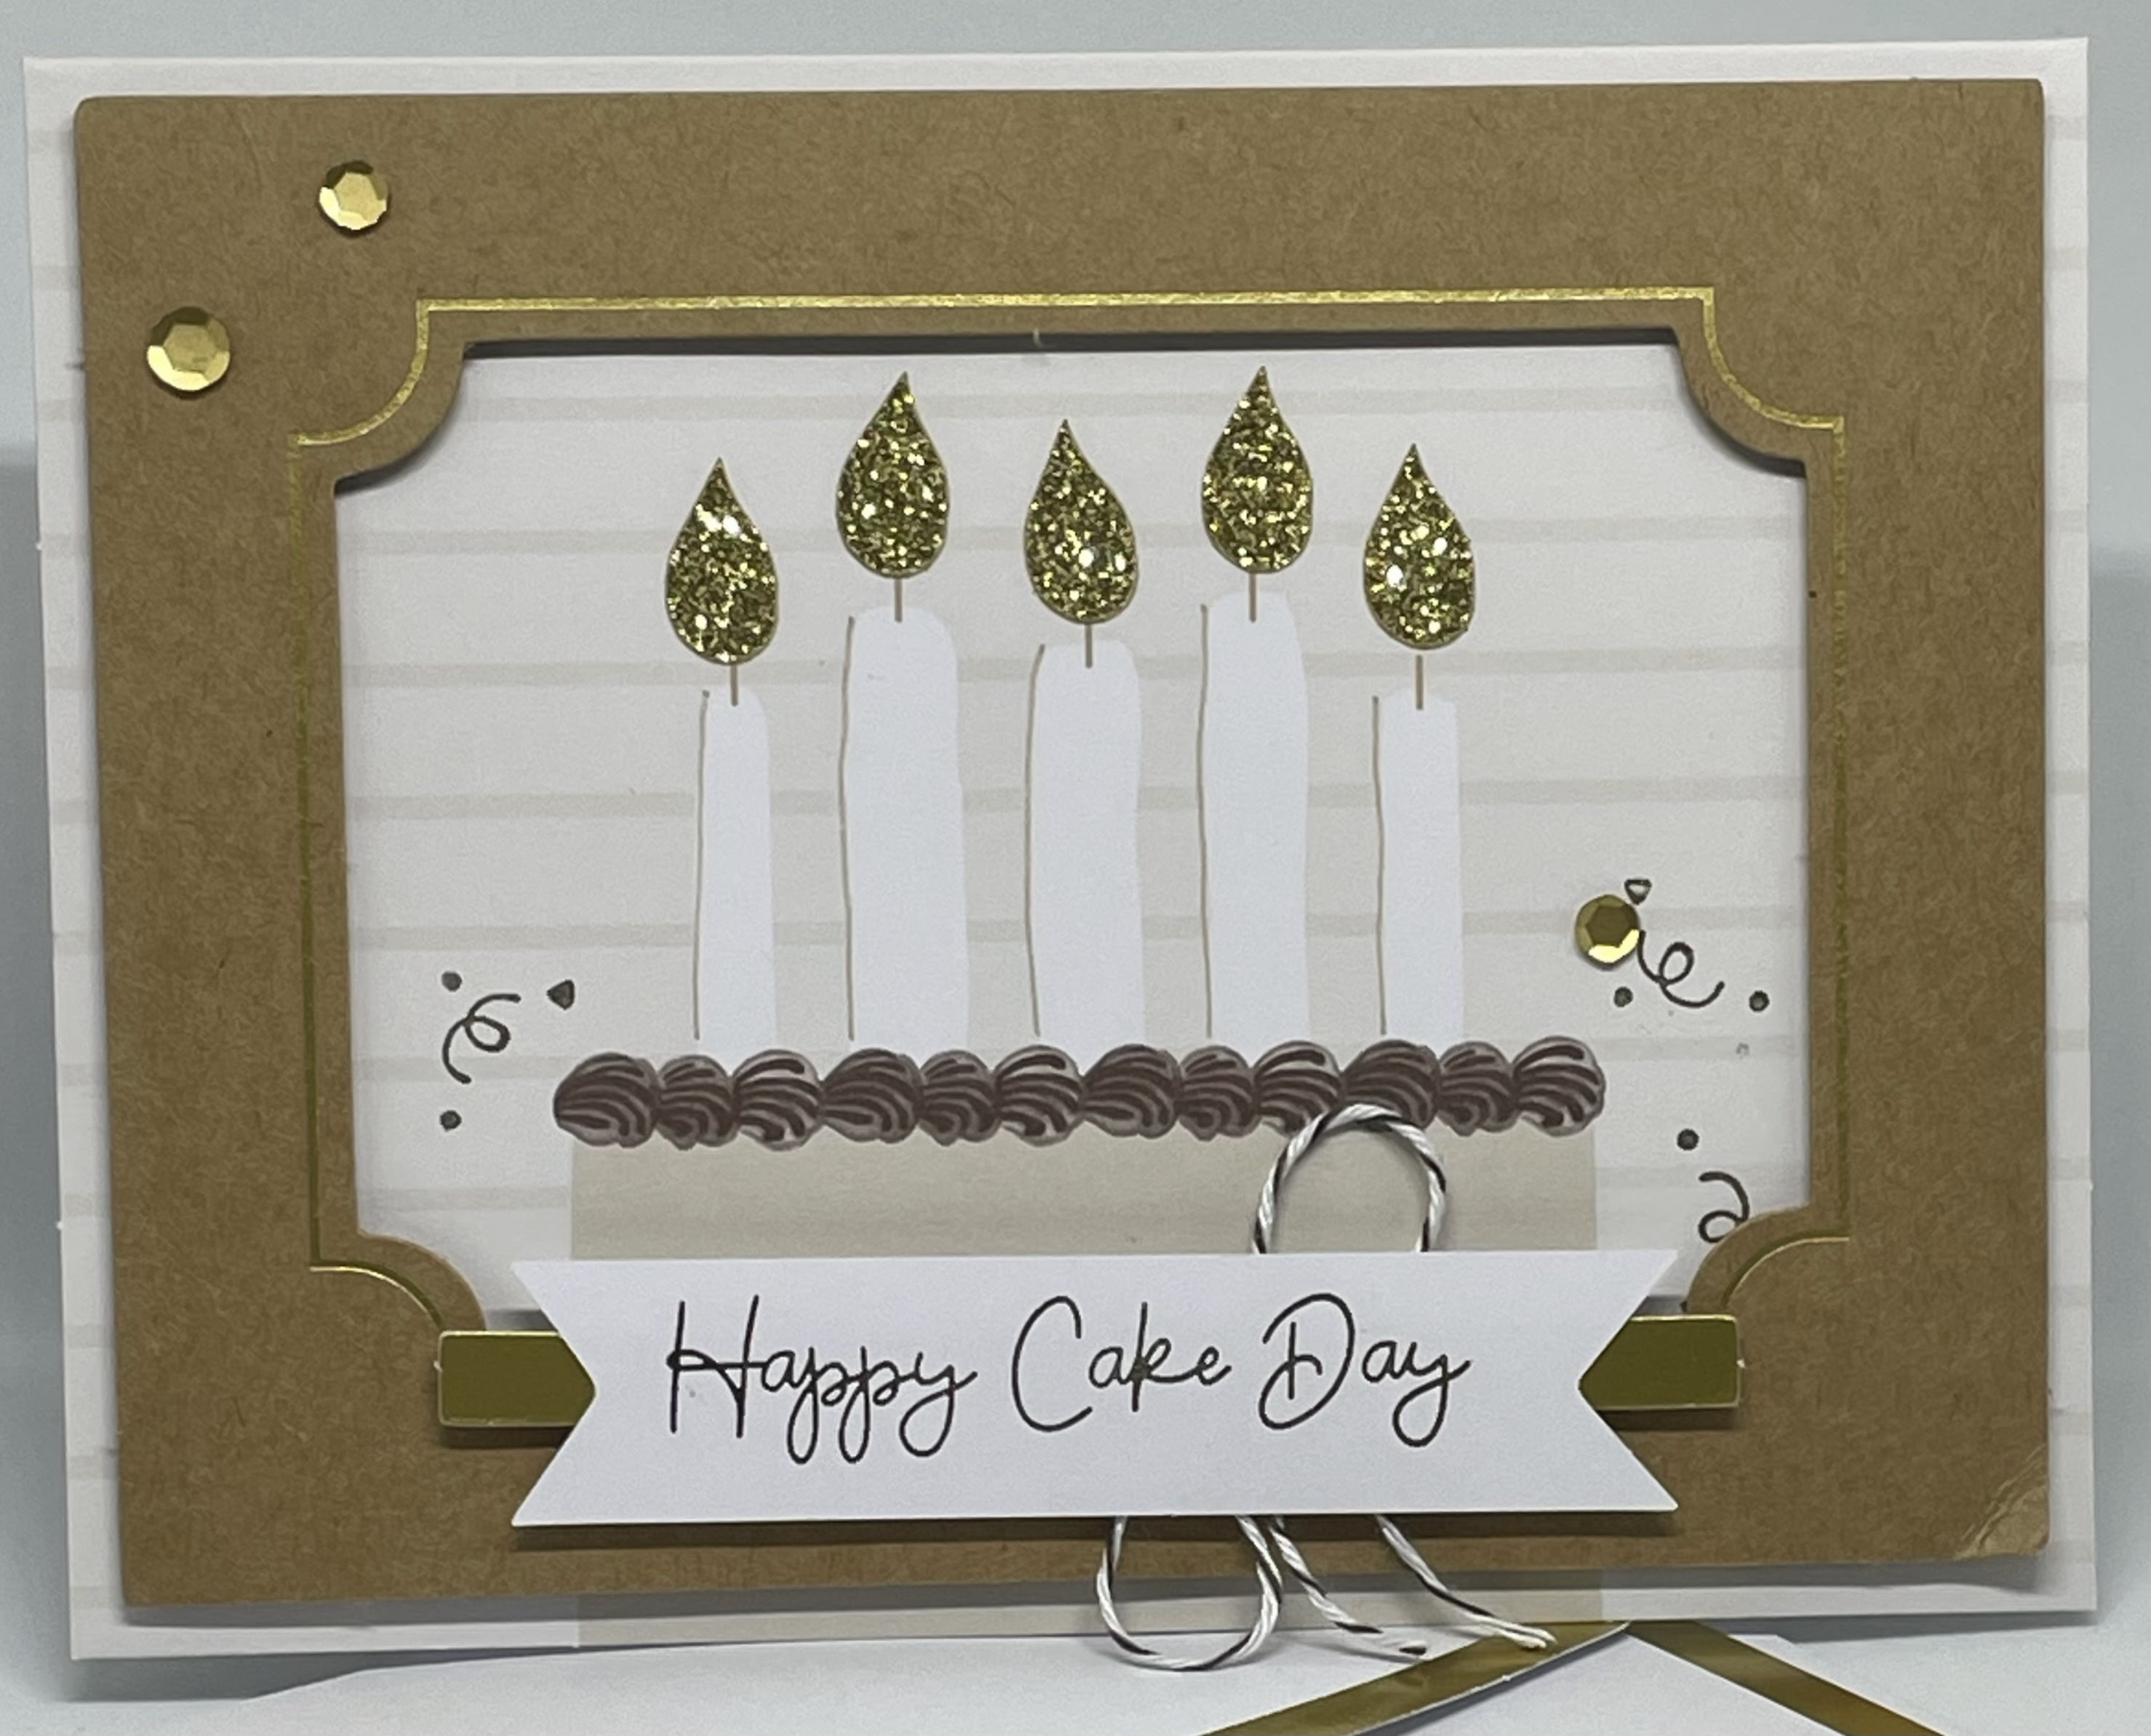
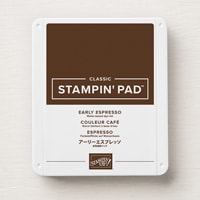
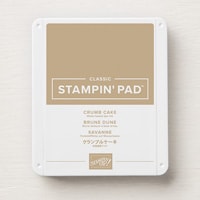
The kit I choose is called Birthday Sparkle. I love it's clean colors - Gold, Craft (or Crumb Cake) and Early Espresso. They are sparkly fun cards. The kit has enough supplies to create 6 cards (3 each of 2 different designs), with envelopes and 6 tags (3 each of 2 different designs).
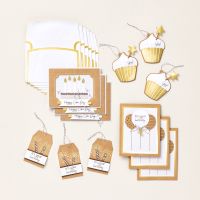
Here is a picture of all the parts and pieces that you get in the kit - everything you need to make the kit projects which also includes a photopolymer stamp set, block and Stampin'Spot in Early Espresso. You get a full set of instructions on how to put the card together!
Here is a close up of the fabulous stamp set - you'll use this on a lot of birthday cards!
Of course, I had to change things up a bit mainly because I do not ever use tags for any gift I give (well, maybe once in a while). The extra supplies that I used are:
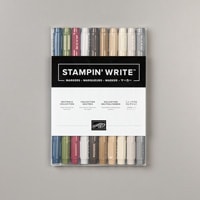
Stampin'Write water base marker - Crumb Cake
Neutrals Adhesive Backed Sequins
6 Additional Basic White envelopes
Crumb Cake, Early Espresso and Basic White Card Stock
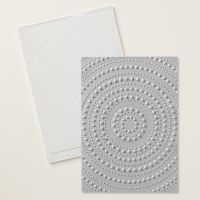
Basics 3D Embossing Folders (which are now retired. A good substitute would be Eyelet 3-D or Dotted Circles 3-D embossing folders)
Glue Dots, Stampin' Dimensionals
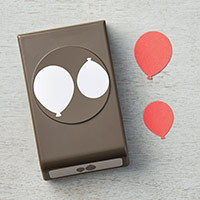
Balloon Punch or balloon dies (both retired) - you can substitute circle punches or dies
Crumb Cake Ink Pad
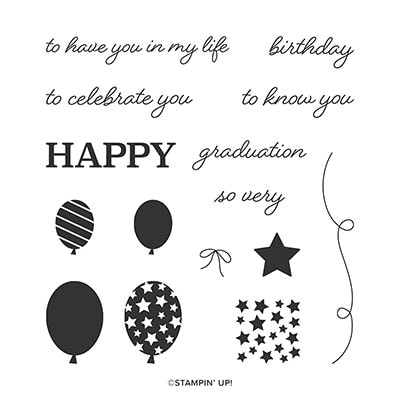
So Much Happy Stamp Set (r) or Beautiful Balloons (r) or any other birthday stamp set you may have. I used these to stamp and decorate the envelopes.
My Twist on the Kit
I made the 6 tags into 6 cards which means that I have 12 cards from this kit.
Here is Card #1- I enhanced this slightly
Before
I altered this card slightly by drawing lines on the candles with my Crumb Cake Stampin'Write marker to make them stand out just a little bit better. I also added the gold sequins to jazz things up a bit.
After
Card #2 - Made it as per the instructions with the kit other than adding the sequins....
Card #3 - Tag Card with Candles
I made the tag as per the instructions. I made a card base out of Early Espresso (5-1/2 x 8-1/2, scored @ 4-1/4). I layered that with Crumb Cake (3-3/4 x 5) and Basic White (3-1/2 x 4-3/4). On the Basic White layer I used the dotted balloon stamp found in the kit and with a Crumb Cake Ink pad, I randomly stamped on this layer. I added the completed tag with dimensionals and added my sequins.
Card #4 - Cupcake Tag Card
I made this card into an easel card - I cut the base which is Crumb Cake cardstock at 4-1/4 x 11", scored at 2-3/4 and 5-1/2. I layered with Early Espresso (4 x 51/4), Basic White (3-3/4 x 5) and embossed that with the dotted 3-D embossing folder, and lastly, another layer of Early Espresso cut @ 3 x 4.
I assembled the cupcake per the instructions and placed on the Early Espresso layer with dimensionals. I also anchored that star pick with a mini dimensional behind it. The inside of the card, I stamped with sentiments found in the kit. I punched out 2 balloons - one in Early Espresso, the other stamped on Crumb Cake with Early Espresso ink. I adhered the larger balloon to the inside of the card and popped up the little balloon with a dimensional so that it would catch the front of the card.
I cut out 9 basic white pieces of card stock, 3-3/4 x 5 to add to the inside of the cards. The other 3 cards had a light enough card base to stamp directly on it.
I hope you enjoyed seeing my kit cards. I had so much fun putting them together and using my creativity to make additional cards.
Make sure to visit the other ducklings on this blog waddle and see what kits they are making!
Hello my fellow stampers! Welcome to this months Blog Waddle where we will be featuring Stampin'Up!'s beautiful and useful embossing folders.
The card that I created for you today uses a neat technique with the embossing folder. Here is the card:
Kind of interesting, isn't it? What I did was to emboss a 5 x 4-3/4" piece of the new in-color, Summer Splash with the Layered Florals 3-D embossing folder. Once I did that, I flipped it over to the de-bossed side and with a brayer, lightly went over it with Summer splash ink. Easy Peasy and quote a soft unique background. I layered this with Basic Black card stock (4 x 5-1/4) and adhered it to a Basic White thick card stock cut at 5-1/2 x 8-1/2, scored at 4-1/4. I stamped the sentiment from the Layering Leaves stamp set, punched it out, punched out some leaves in vellum with the Bough Punch. The ribbon is Silver and White and I topped it off with Iridescent Foil Gems!
Thanks for stopping by today. Hope you enjoyed seeing my card!
Blessings, Sheryl
Here is a list of the rest of the Stray Duckling Blog Waddlers:
The June class is now ready to go...I am still taking reservations.
Date: Friday, June 28th - 10am - 2pm - Morton Christian Church
Here are the cards:
This month we are working on a new technique with a brayer, exploring all the new InColors for 2024-2026, plus a beautiful fun fold card that showcases the new Designer Series paper , Thoughful Designs and a peek at an On Line exclusive suite, A Little Latte. The cards are easy to put together but elegant!
You will be making a total of 7 cards with envelopes: 2 each of 3 designs and a bonus card. Recipe with cutting dimensions and supplies is included as well.
Please let me know as soon as possible if you want to come. I'm going to start cutting the kits next week.













.JPEG)