Yesterday I promised you a niffty, easy gift bag that goes with the card I showed you. Well, here it is!
Isn't this really cute? Gift bag with a card holder in front. It only works for cards that are vertical: 4-1/4 x 11. I got this idea from my fellow Stray Duckling, Debbie in Sterling, IL. She is the one who shared her creations and the instructions. This is one of the many benefits of being a Stampin'Up Demonstrator - meeting some of the most fabulous and creative people! This makes a really cute gift bag and let's you use up all that Designer Series Paper that you've been hording!
Here are the instructions:
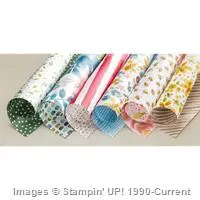
2 sheets of 12 x 12 designer Series paper
1 - 3 x 6 piece of coordinating card stock
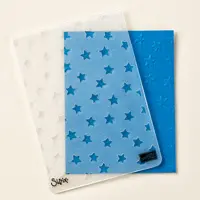
embossing folder
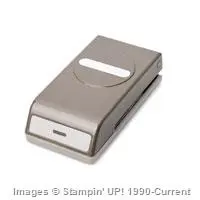
Word window Punch
Big Shot
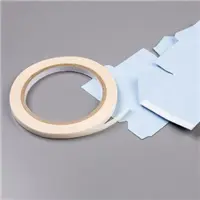
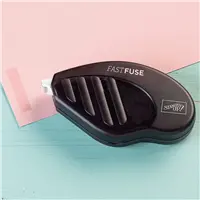
Strong glue, like tape and tear or fast fuse. Tombow liquid glue would work too.
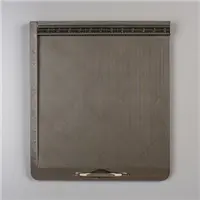
On the 12 x 12 DSP, score one side at 1", all other sides 3" I use the Simply Scored board - easy and accurate!
Cut up to the 3" line on both pieces. Trim slightly so that it will fold tightly. The 1" side is the side that you turn over as the trim, so decide which side you want for the trim, what side for the bag! Glue down the 1" side.
Add Adhesive on one piece only to the flaps.
On the other piece, you will need to put adhesive on the flaps, but also on the sides:
Fold and make box bottom; Insert one box into the other, with the adhesive sides on the inside of the bag:
The hang Tag - take a coordinating piece of card stock and cut 3 x 6. Take the card and mark the width of the card, centering on the 3 x 6. Then take the Word Window punch and punch out a little wider than your marks:
Then run this through the embossing folder. Do not put through embossing folder first, and then try to punch out window. The embossing folder breaks down the fibers and you will find it difficult to use the punch.
Put adhesive on the back top of this hanger - bottom must be free for card to go through.
Add this to bag, slightly below the top of the bag.
Put some tissue in the bag, slip your card through the window and enjoy!
Hope you enjoyed today's tutorial. If you have any questions be sure to contact me and I will try to explain! It's really easy - honest! And you can make coordinating card with the DSP! Win Win!
Have a blessed day and make lots of these!
Sheryl


No comments:
Post a Comment